Skip to content
My Portfolio
Music
Festivals
Comedy
Productions
Reviews
Contact Me
T&Cs – The legal bits
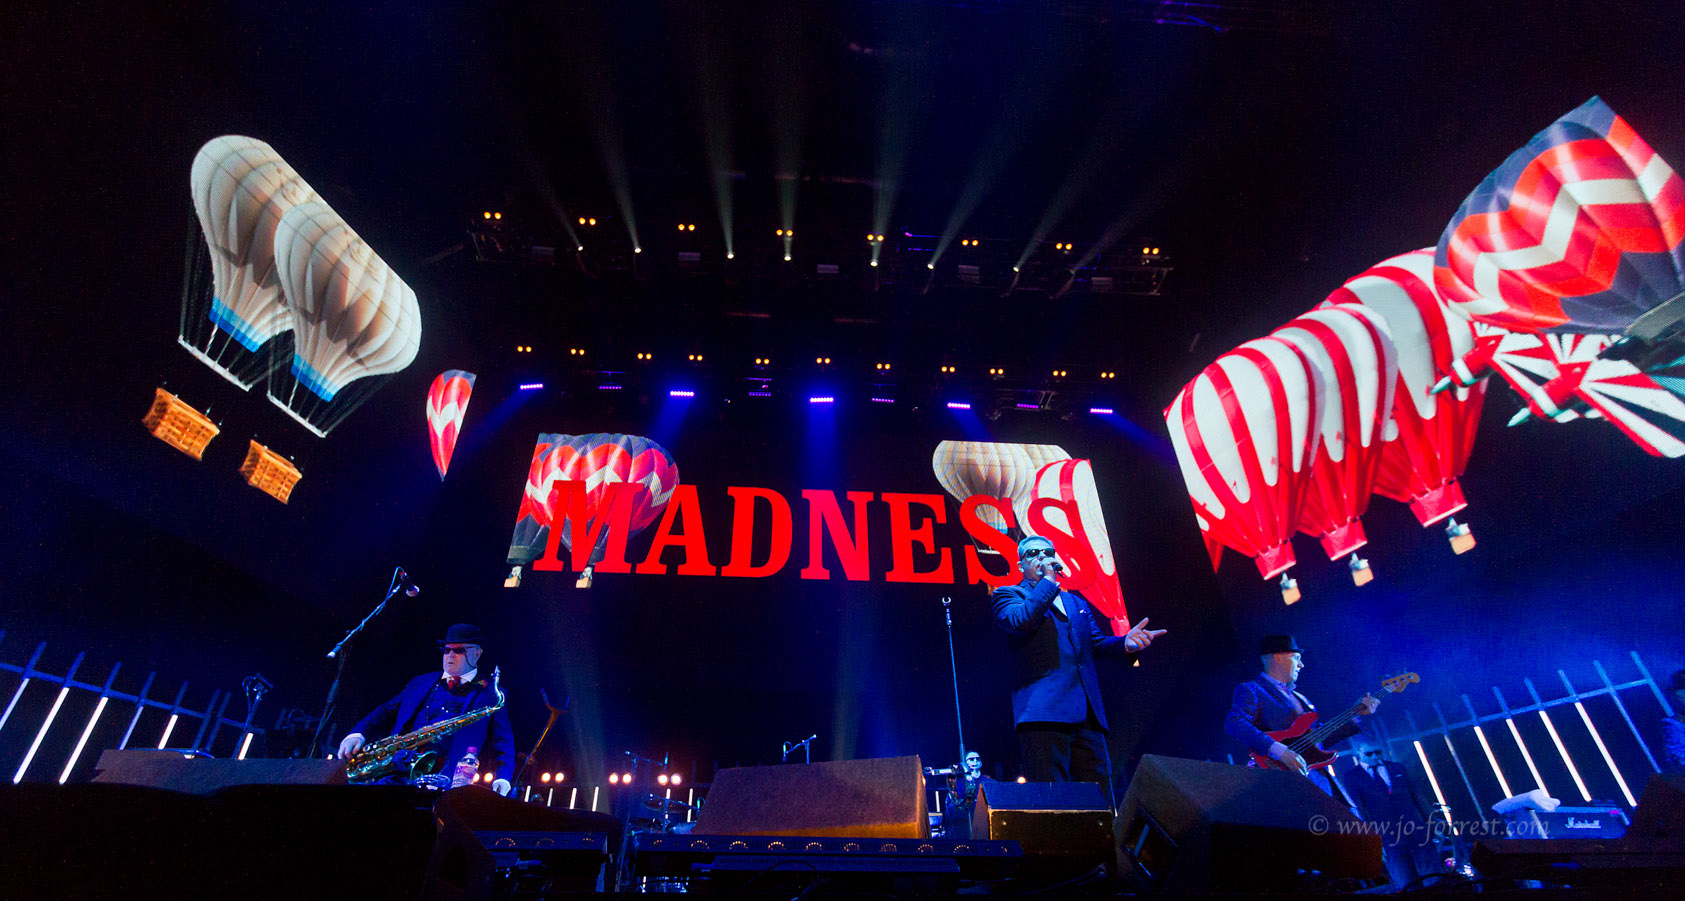
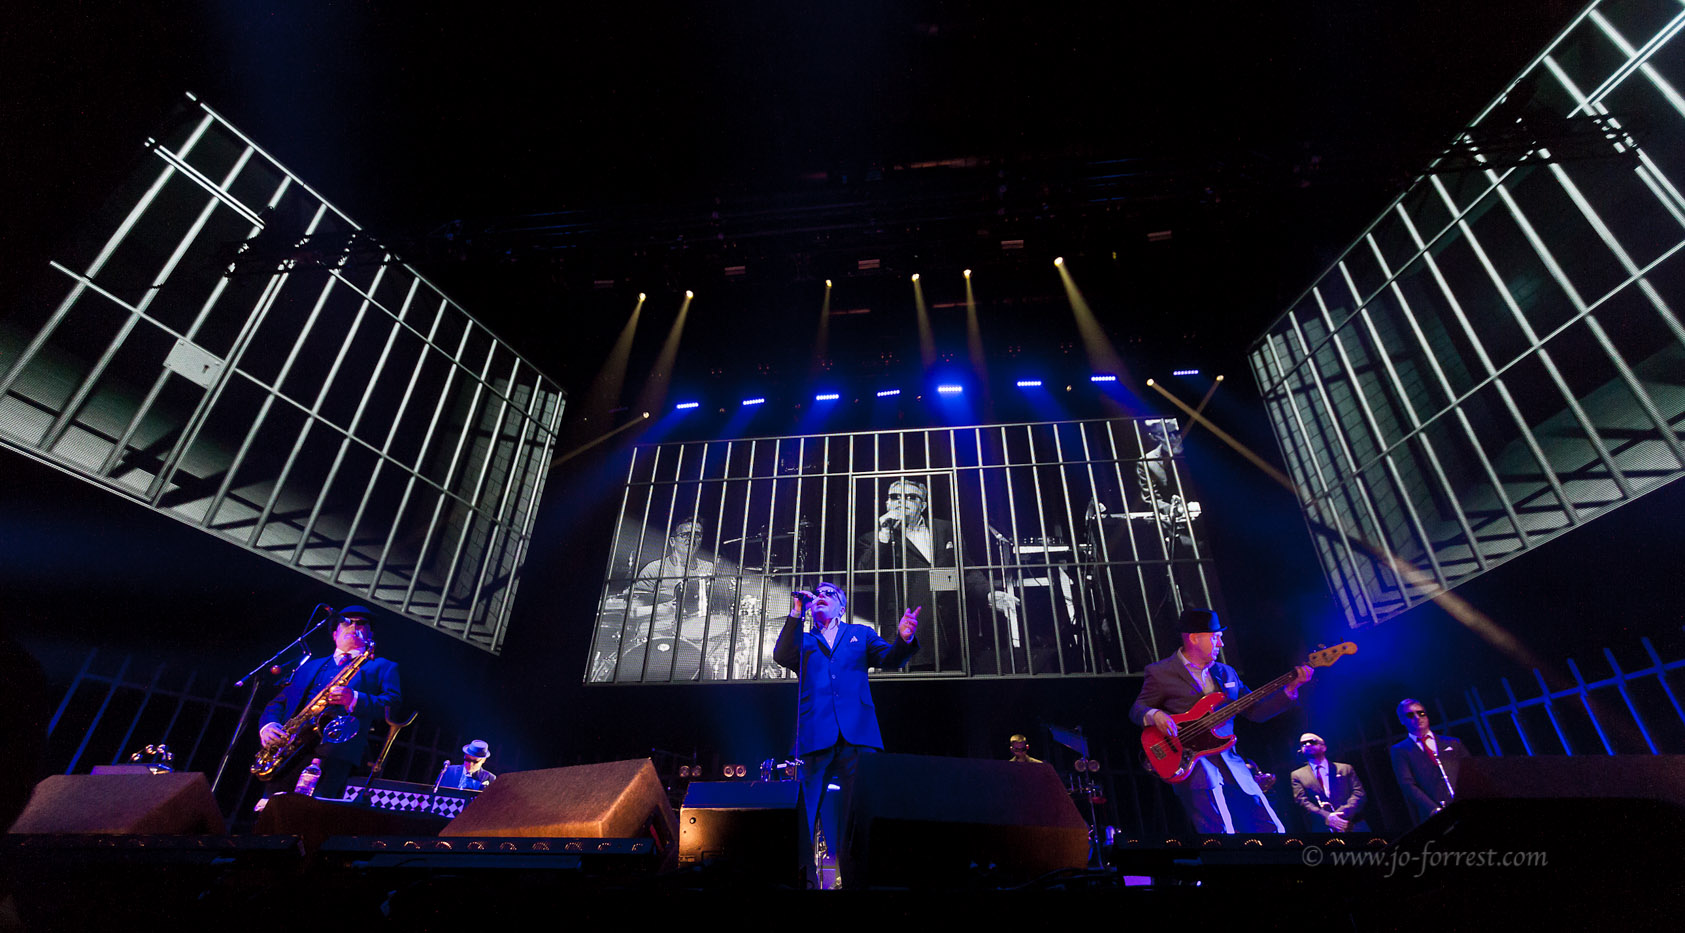
Madness